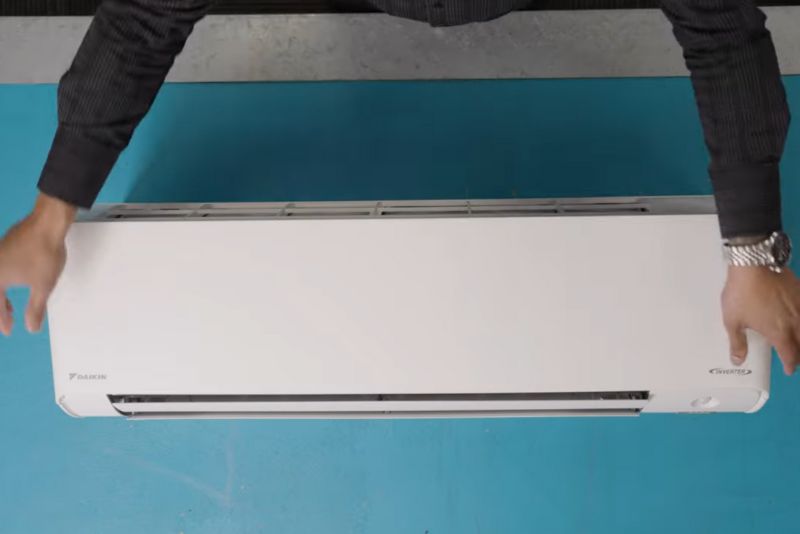
Regular cleans of your split system air conditioner filters is essential for ensuring it operates efficiently, provides clean air, and lasts longer. Running your system with dirty filters can reduce the unit’s performance, increase energy consumption, and even affect the air quality in your home. Cleaning the screen filters is a simple process that can make a big difference. In this article we’ll cover a step by step guide of how to clean your split system air conditioner filters. The system shown in this step by step guide is a Daikin split system air conditioner, the unit used in this demonstration was not attached to the wall. Please note that it is not required to remove the wall unit to complete your split system air conditioning filter clean.
When to call in the professionals
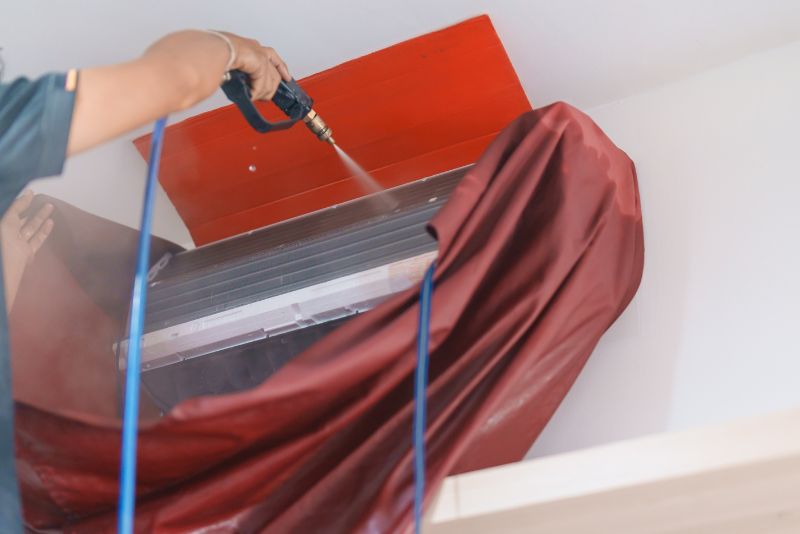
If you have cleaned your air filters and your system is not running as it should or if you have noticed mould growth or discolouration inside your air conditioner vents (where the cold air blows from) its time to call the professionals for an air conditioning service and deep clean. If you are located in Brisbane, Redlands or Logan you can contact Advanced Climate Solutions on 0403 254 272.
Why Clean Your Air Conditioner Filters?
Over time, dust, pollen, and other particles accumulate in your air conditioner’s filters. This buildup can:
- Reduce airflow, making your unit work harder.
- Decrease energy efficiency, leading to higher power bills.
- Affect the air quality, which can impact your family’s health.
Cleaning the filters regularly ensures your air conditioner operates efficiently and delivers clean, cool air.
Steps to Clean Your Split System Air Conditioner
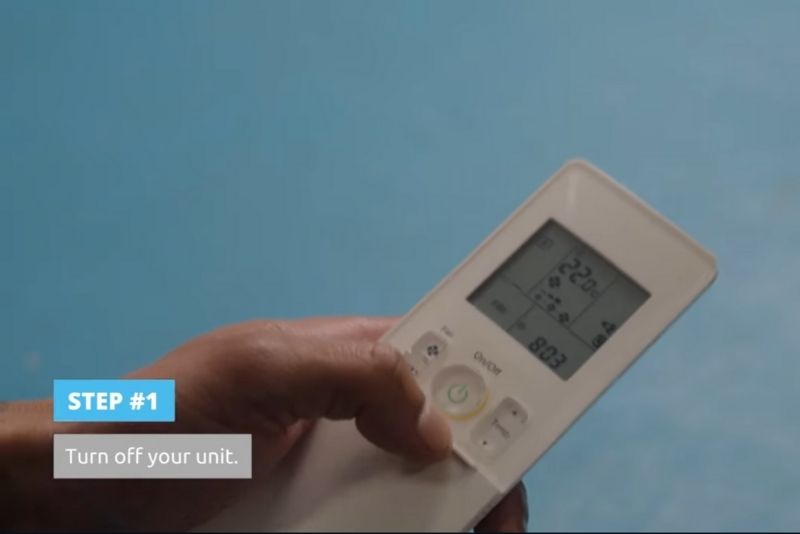
Step 1. Turn Off the Unit
Before starting, ensure the air conditioner is turned off using your air conditioners remote control. This step is crucial for safety and to prevent any electrical issues. Also, double-check that the power to the unit is completely disconnected.
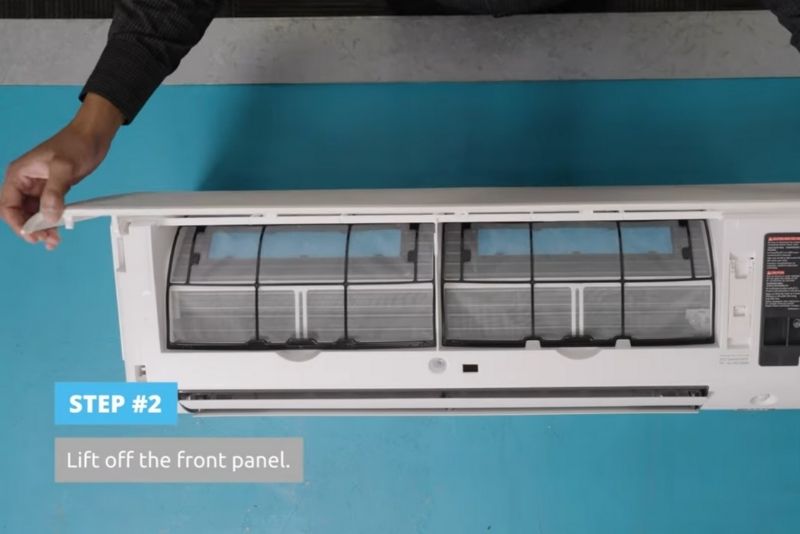
Step 2. Lift Up the Front Panel
Locate where your split system air conditioner front panel hinges from and gently lift it up. Most panels are designed to open smoothly, so avoid using excessive force. With the front panel lifted this will give you access to the screen filters.
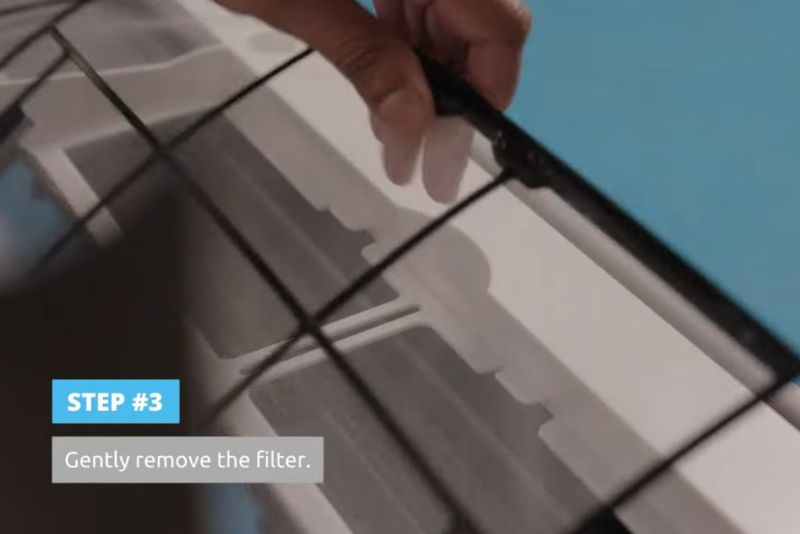
Step 3. Gently Remove the Filters
The main air-purifying screen filters will be located just under the front panel. Carefully slide or pull them out of the unit. Split system air conditioning units will often have both:
- Standard Air Purifying Filters: These trap larger particles like dust and pet hair.
- Advanced Filters: Such as Titanium Apatite or Blue Enzyme Deodorising Filters, which neutralise odours and deactivate bacteria.
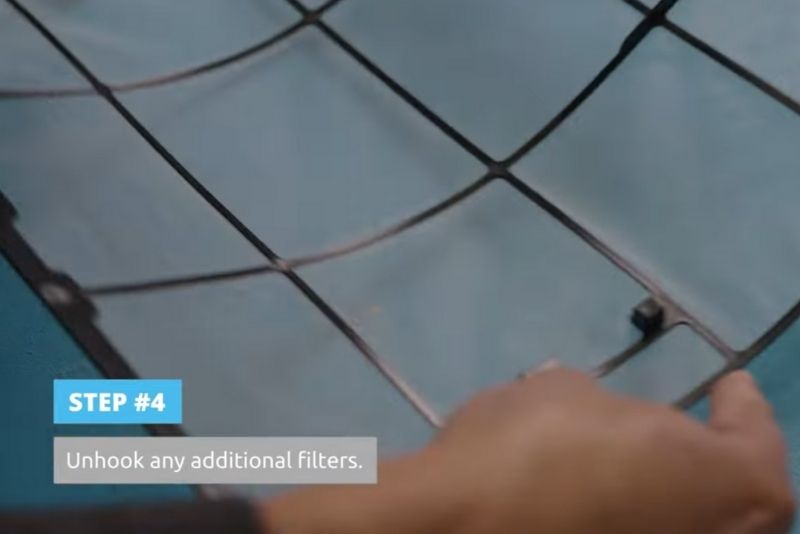
Step 4. Unhook Any Additional Filters
If your unit includes advanced filters, carefully unhook them. These filters are usually secured by small clips or claws. Handle them gently to avoid tearing or damaging the material. If you are unsure or feel like you are applying too much force, always refer back to your manufacturers manual.
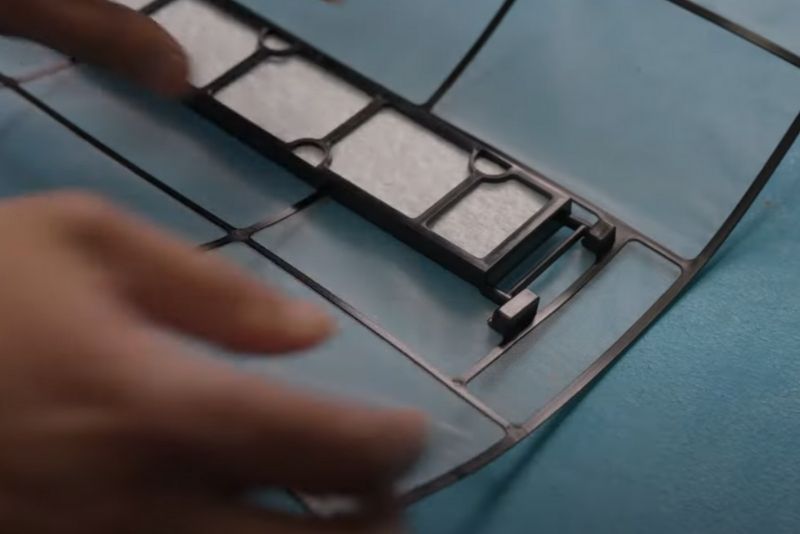
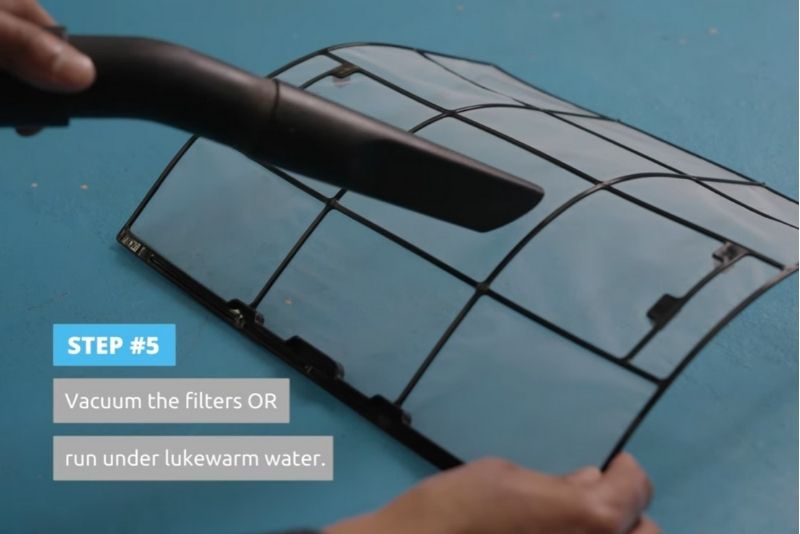
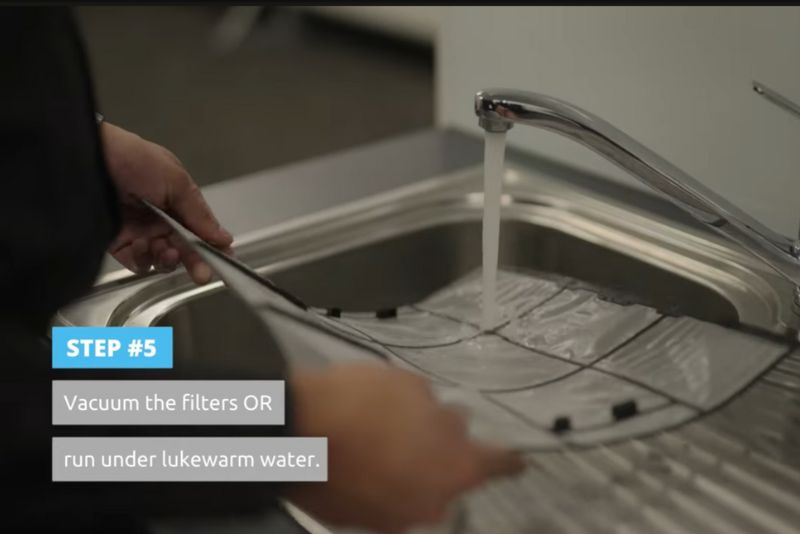
Step 5. Clean the Filters
- Vacuum Cleaning: Use a vacuum cleaner with a crevice cleaner nozzle or soft brush attachment to remove dust and debris from the surface of the filters.
- Rinse with Water: For filters with more dirt, rinse them under lukewarm running water. Ensure the water pressure is gentle to avoid damaging the filter material.
- Add Detergent for Heavy Soiling: If the filters are very dirty, soak them in a solution of lukewarm water and a mild neutral detergent. Gently scrub with a soft sponge to loosen stubborn dirt, then rinse thoroughly.
Important: Avoid using harsh chemicals, abrasive brushes, or hot water as these can damage the filters. Never wring the filters to remove excess water.
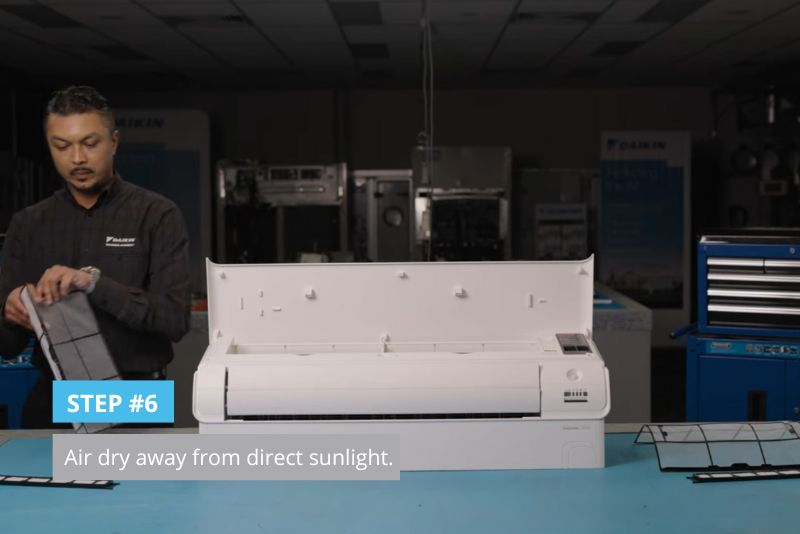
Step 6. Air Dry the Filters
Place the cleaned filters in a shaded area to air dry and do not place in direct sunlight as this can cause the filters to warp or degrade, also avoid placing them under intense heat. Ensure they are completely dry before reassembling.
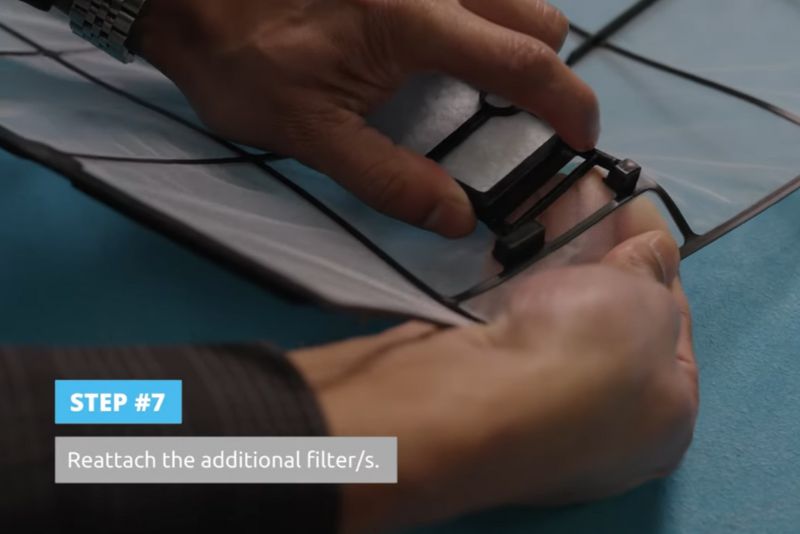
Step 7. Reattach Additional Filters
Once the filters are completely dry, if your system has them reattach any advanced filters (such as Titanium Apatite or Blue Enzyme Deodorising Filters). Align them with their clips or claws and secure them carefully.
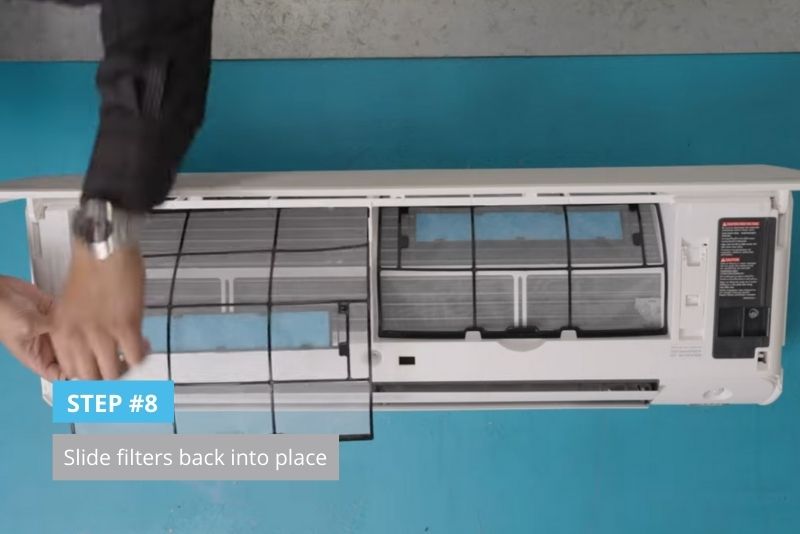
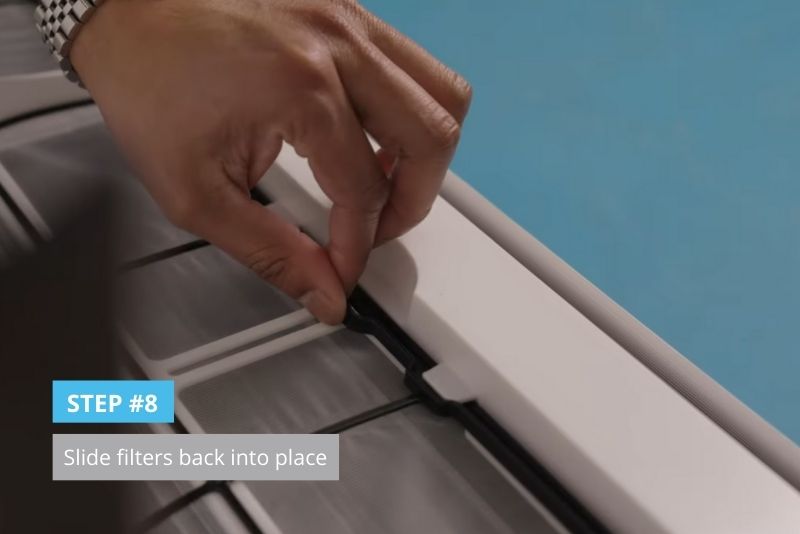
Step 8. Slide Filters Back Into Place
Gently slide the cleaned main filters back into their designated slots. Ensure they are fitted correctly without bending or forcing them into place.
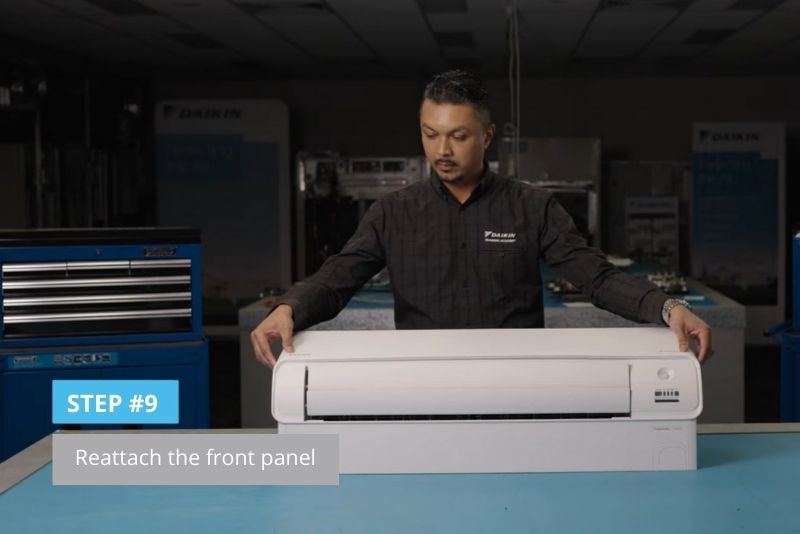
Step 9. Reattach the Front Panel
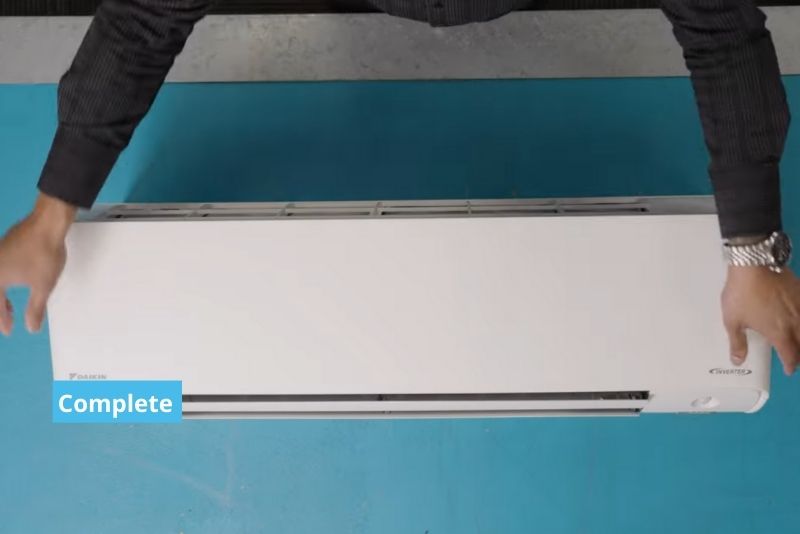
Lower the front panel back into position and press it until you hear it click securely. This ensures the panel is properly closed and helps to protect the internal components.
Step 10. Complete
Restore power to your air conditioner and turn it on using the remote control. Check that it operates smoothly and enjoy the benefits of a clean and efficient system.
How Often Should You Clean the Filters?
For optimal performance, it’s recommended to clean the filters every 30 to 90 days, depending on usage and environmental factors. Homes with pets, high dust levels, or pollen-heavy environments may require more frequent cleaning.
Need Professional Maintenance?
While cleaning the filters is a straightforward task, regular professional servicing ensures your air conditioner is operating at peak efficiency. Advanced Climate Solutions installs both Daikin and Actron Air systems but offers expert maintenance and repair services for all air conditioning system brands across Brisbane. Contact us today to schedule your next service on 0403 254 272.
By following these steps, you can keep your split system air conditioner running smoothly, ensuring a comfortable and healthy environment for your home.

